

Toddler Double Bed - Cot to ‘big kid’ bed, the good, the bad and the tantrums
“They grow up so fast, blink and you will miss it”
These sayings had never rung more real for me then when I had to transition my (not so) baby boy Hudson from his cot to a “big boy bed” at the tender age of 25 months.

(This is Hudson, he was a little camera shy and cranky before we got his new big boy bed)
How It All Began
We had done the cot conversion (took one side arm off and placed the little toddler side rail on) but it really made no difference to the space for Hudson, so after about 3 months of having the “toddler” bed we made the decision to change him into a full-blown “big boy bed” and he has never looked back, much to my heartache/happiness.
I’m not sure if other mums are like me, but I research the death out of everything to do with every milestone, and stage Hudson is at. This fetish started when I found out I was pregnant, and each week, my poor husband would hear every new detail of the baby stage (in length and about 50 times). So for me I didn’t really plan on moving Hudson into a big boy bed for at least another 6 months, I mean he just turned two and had started daycare a few months before, so didn’t want to overwhelm him and as all the research told me its best they wait until they are around 3 to transfer into a bed.
 (I know Hudson is a Toddler, but I still saw him as my baby. Here he is "helping" out at one of photoshoots)
Time To Leave Our Bed
However, after being hit with two bouts of tonsillitis in the space of 5 weeks, I couldn’t stand the little wriggler sleeping in bed with me any longer. Poor hubby would get kicked into the spare bed (wait what am I saying poor hubby?) the genius got kicked out into the spare bedroom and left me - the silly one - to fend for myself with the wriggler in our bed.
So after four weeks of absolute hell and about 2 hours of uninterrupted sleep each night, I was at breaking point and had enough. It was time for Hudson to get a big bed so we could settle him in his own space and then still come back to our space to get some sleep.
I Ignored The Research
All that research I had done on waiting until he was 3 went out the window, and in one day I had changed his room completely. I had arranged a double bed base and double mattress from Mobile Mattress to be delivered the week before and was going to leave it in the garage until we were all ready, but that all changed.
We decided one Saturday afternoon to change Hudson’s room. To say this gave me anxiety would be an understatement, but I was just so tired I figured it couldn’t get any worse so was willing to give anything a try. And MAN am I glad I did. Not only was Hudson ready for more space, but he was also prepared to be a big boy and not a baby anymore. He was so excited when we pulled the bed into his room and even more excited by the truck pillows that he wanted to go to bed then and there!
Good Bye Baby Bed Tears (Mine)
The moment he waved goodbye to his cot, there were no tears but utter happiness to be in his big boy bed upset me. It was at that moment I realised I had also to wave goodbye to my baby. I didn’t understand it would be so hard for me to say goodbye to a cot, but I feel it was more the meaning behind the cot.
The two years of learning how to parent, all those sleepless nights, all those day time naps of just staring at him sleeping soundly in the cot, looking so little, were drifting away right before my eyes, I had to pull myself together and embrace this new chapter in our lives.
Why I Ignored The Experts Research
Again, I had done all this research on keeping the cot up and in another room, in case the child frets for it at night and to make sure to take time allowing the child to get to know his new bed, but it was all a waste. Hudson was such a trooper and just proved to me that each child is different, and each circumstance is different. When they are ready, it will just work.
Single or Double Bed For Our Toddler?
We made the decision to go straight to a double bed instead of single or king single size as Hudson is quite tall for his age and is a wriggler in bed, so wanted to give him as much space as he needed to get a good nights sleep. We also thought this would be a good option as he would then grow with the bed, and this would last him a few years, and save us some money in the long term. Also, the bonus was that we could share the bed with him (and sleep) and not be uncomfortable but also had enough room to sneak out when needed.
Making The Transition From Baby Cot To Bed Easier
The aim was to create a room that would not only make the transition easier but one that Hudson was excited to be in each night. To say Hudson has been a lousy sleeper is an understatement. To this date, we have not had a solid nights sleep so you can understand the importance of us trying to make the transition easier but not to disrupt our sleep any more than needed.
The Perfect Bed For Our Toddler
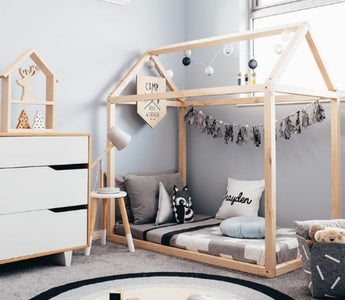
I came across these house beds when googling toddler beds and loved the concept of it.

They look like little cubby houses for kids and who doesn’t love a cubby? My Dad is a builder and offered to help us construct the frame so we could advise others how to do it yourself, saving you money, while not compromising on style.
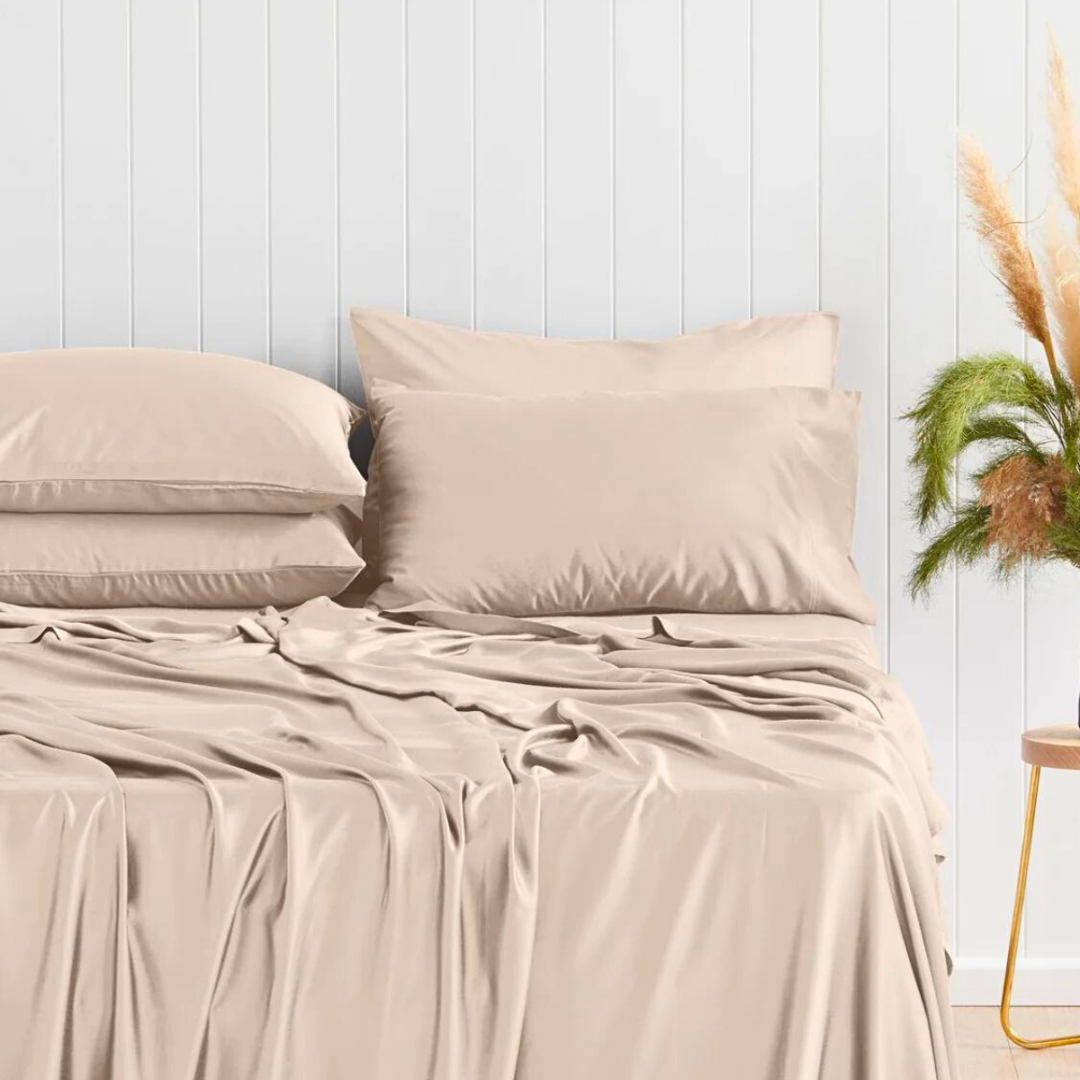
The house beds range online for around $700 each in a double size, not including a mattress, manchester or accessories. Our final total was $907.97, which includes mattress, materials for the frame, manchester and accessories. We came across Mobile Mattress online and saw they offered 65% OFF RRP.
Saving sleep and money by finding a deal
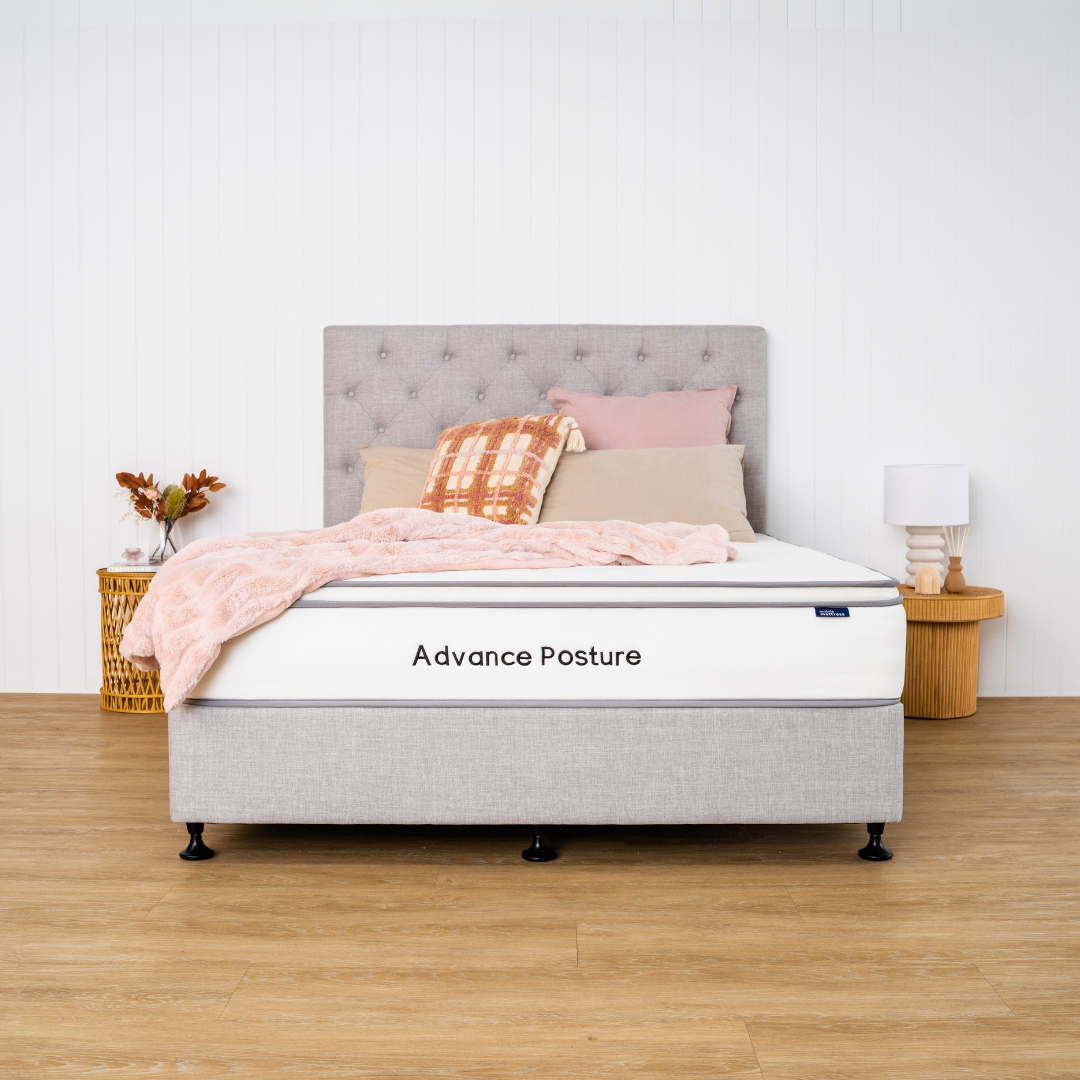
We chose the Ortho Balance mattress ($299 for a double) from Mobile Mattress because it was similar to the feel of Hudson’s cot mattress. A mattress with similar specs in another store was retailing for well over $500. We also wanted something that was comfortable for us to sleep on and something that would last a few years, so quality and comfort were our main concern. We found the Ortho Balance met all our requirements and we were surprised at the fantastic quality we received for the price we paid.
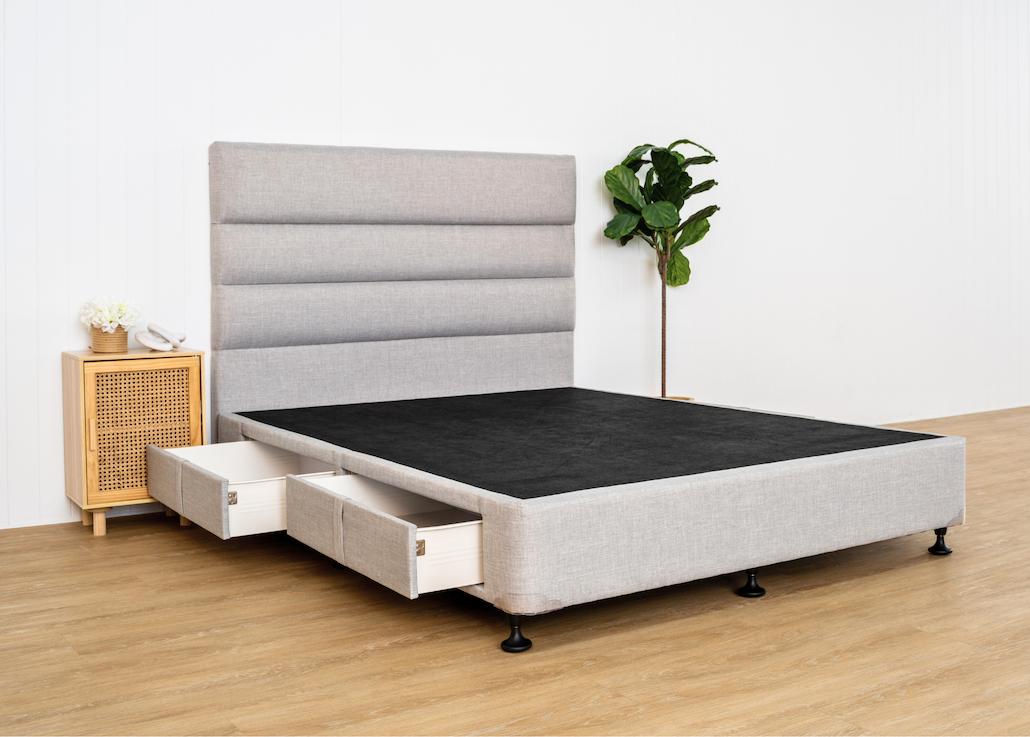
We chose the Soho bed base but had it exposed, not upholstered. The reason we went with a low lying bed base, instead of having it on the floor like some of the other house frame styles offer – was for two reasons – one, a base structure will last longer, and if needed we can remove the frame of the house and still use the existing base and the other reason was Hudson suffers from allergies, so we needed him off the floor to help elevate any issues with dust etc.
The Final Bed

Better Nights Sleep For Us
Since transitioning Hudson to his big person bed, he is excited to go to bed each night and calls it “Hudson’s house,” he has even started to sleep a little better and so far mum and dad have not had to have a night in there either! We are so happy with how the whole process went and even more excited that we could find all the items at such a great price without compromising on quality or style.
How We Built The Frame
We realised we could save a lot by making the frame ourselves. It was at this point I roped my Dad in. I gave him a list of instruction on how to make the house frame. In typical Dad fashion, he knew a better way. Therefore I share this how-to guide as a starting point to share with your “family carpenter” as a starting point, but expect them to come up with their own plans!!!
The below instructions are designed to make it easier for your typical handyman/Dad/Partner make the frame from scratch.
DIY Toddlers House Frame Bed Building Plan
What you need
Cut list of wood. (We got it all from Bunnings).
Pre Primed Pine
- 4/ 42x42 at 1600mm (Posts)
- 3/ 66x42 at 1900mm (Sides)
- 2/ 66 x 42 at 1380mm (Ends and Ridge)
- 2/ 140 x 31 at 1380mm (Base)
- 2/ 140 x 31 at 1900mm (Base)
- 4/ 66 x 42 at 1040mm long to long 45-degree cut (Rafters)
- 8 metal brackets to join the base
How we made the bed frame
- Using base cut timber pieces assemble in an L shape, making sure to allow for the post pieces to sit on the outside, creating a finished edge. Do not make the timber base pieces sit flush.
- Drill brackets into the inside of base pieces, holding the base square.
- Leave middle holes of bracket free.
- On each corner of the base, align the post pieces to the outside corners and
- Using middle section of bracket holes to secure.
- To create the top head frame: this was a separate piece and drilled onto the base once positioned in the room.
- Using 2 of the side timber pieces and the 2 end pieces assemble in an L shape, making sure to allow for the post pieces to fit on the outside, creating a finished square edge.
- Drill brackets into each of these pieces allowing for the middle holes to be free for later. This creates the base of the Head Frame.
- Create The top Triangle Rafters making sure long to long they are at a 45-degree angle creating the point. Connect the rafter pieces together at each point using drill.
- Place the assembled rafter piece on the head frame and drill into frame, allowing the ends of the rafter pieces to sit flush once the final post pieces are assembled.
- Drill the Ridge piece into the top of rafters and then place onto posts.
- Drill this into the posts using the middle section of the bracket.
- For best practice, paint prior to assembling the Head frame onto the base.
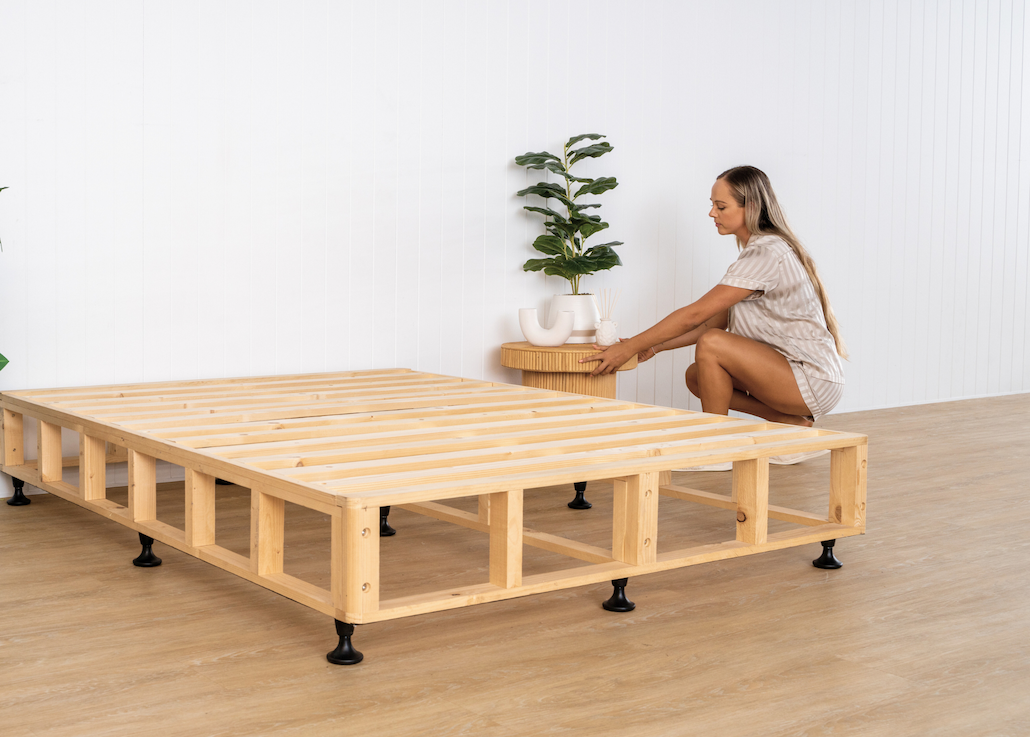
Below are some pictures of how we built the bed frame to help visualise the stages.


And this is the final frame…